Install
1. Boot the stick
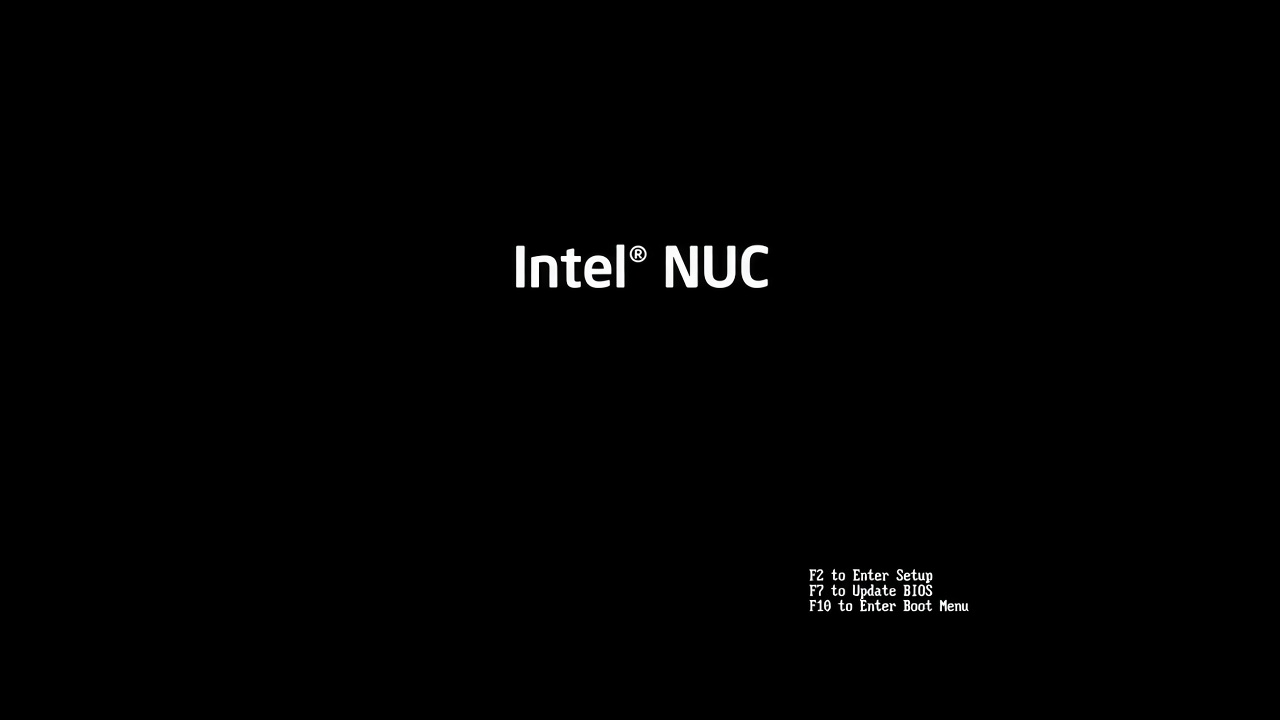
Plug the stick into the target machine, with display, keyboard and Ethernet. Power on and open the boot menu. The key varies by vendor (often F10, F12 or Esc).
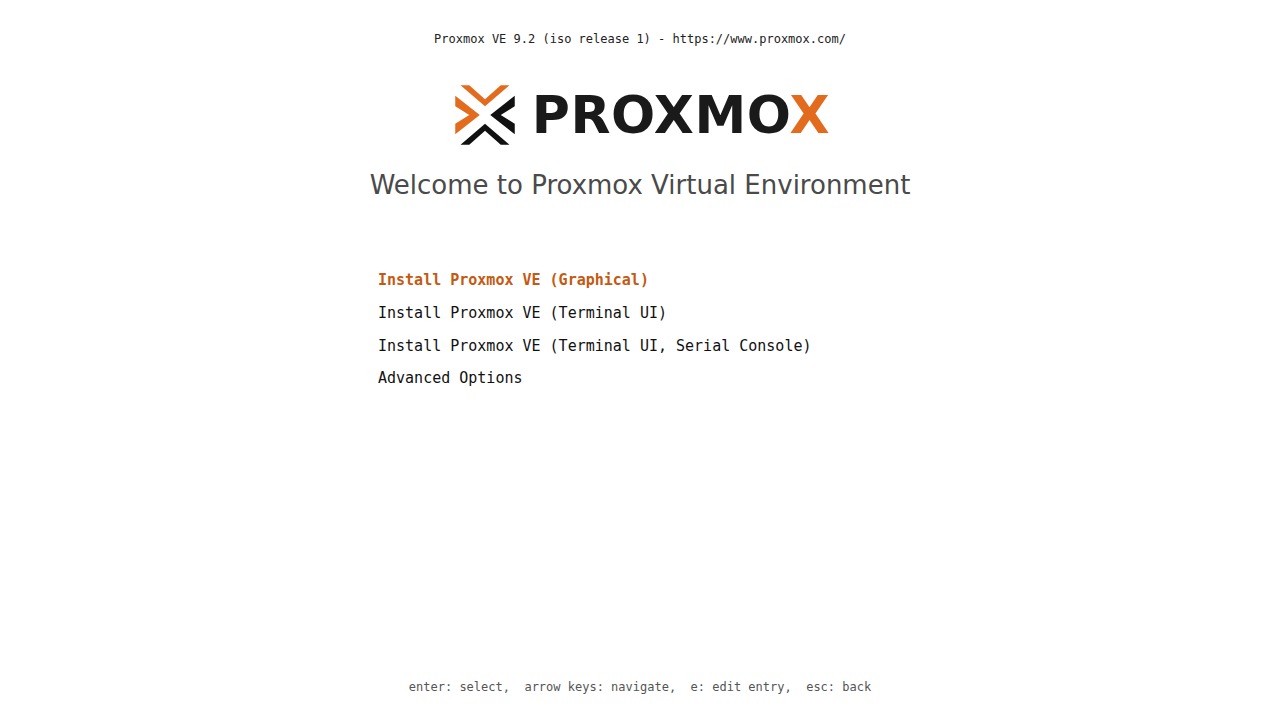
Boot the USB in UEFI mode, then choose Install Proxmox VE (Graphical).
Blank or garbled screen?
Reboot and pick Terminal UI. If that fails, press e on the entry,
append nomodeset, and boot with Ctrl+X.
Keyboard only
Alt plus the underlined letter presses a button (Alt+N is Next).
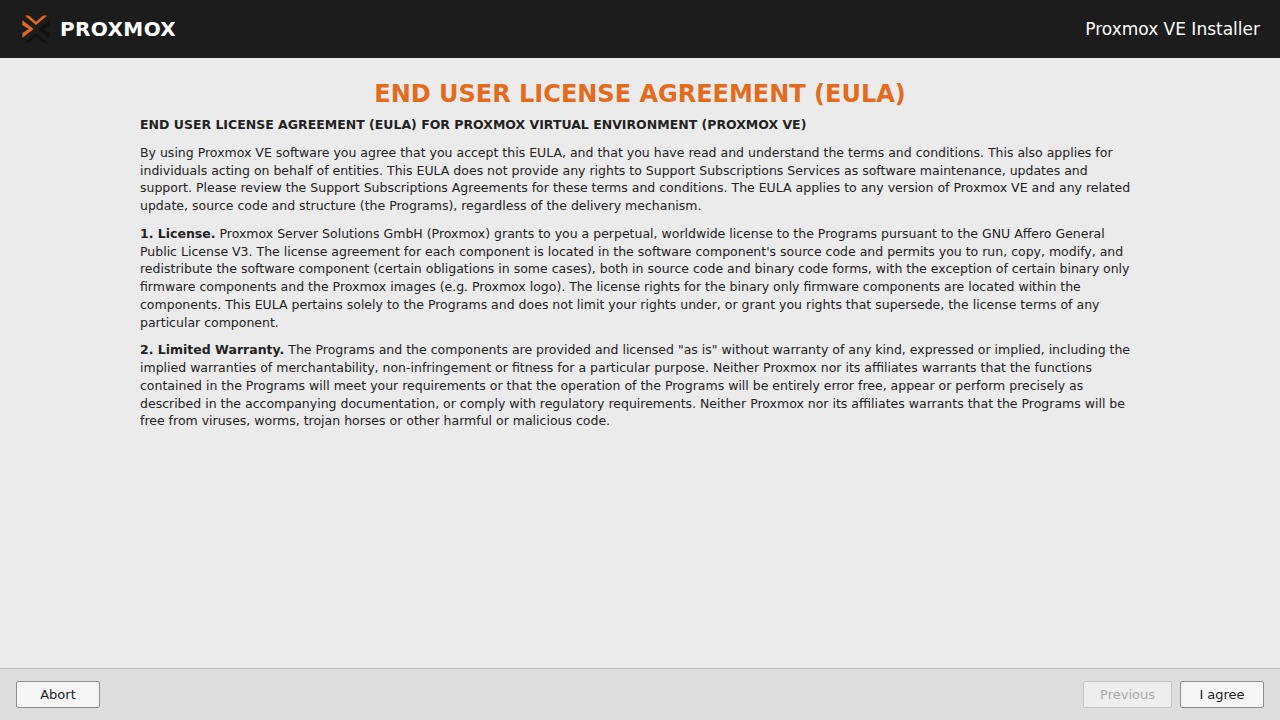
2. EULA
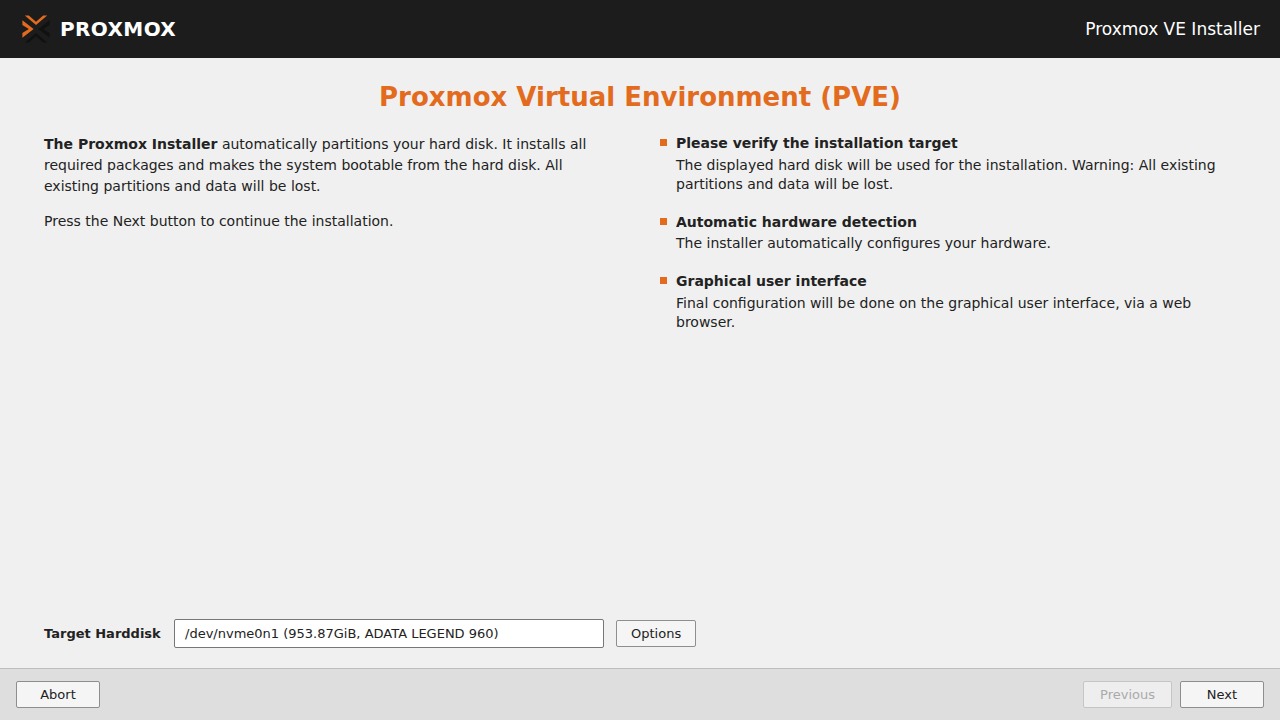
3. Target Harddisk
Every selected disk is erased
Pick the machine's internal disk(s). Never the installer USB.
Options → filesystem zfs (RAID1) → pick both internal disks → set spare slots to -- do not use -- → OK → Next.
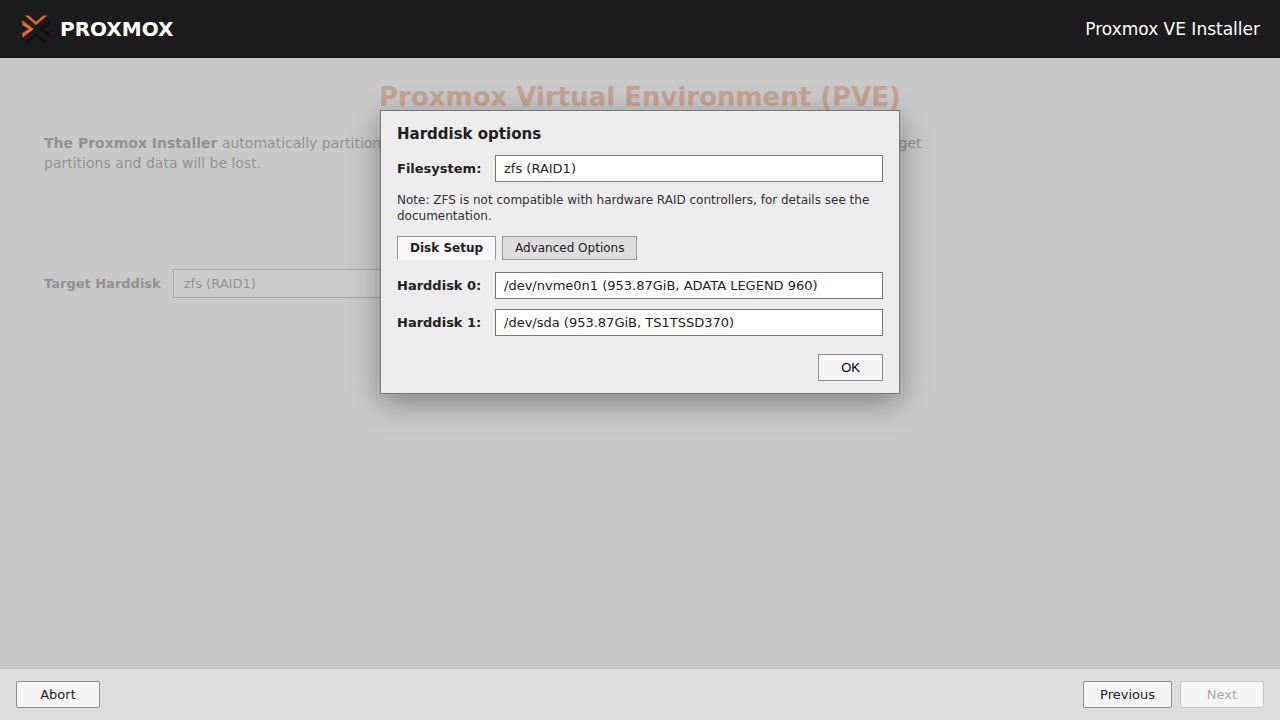
No hardware RAID under ZFS
Use pass-through (HBA / non-RAID) disks, or choose the ext4 tab.
Keep the default ext4 filesystem, select the single internal disk (not the USB), then Next.
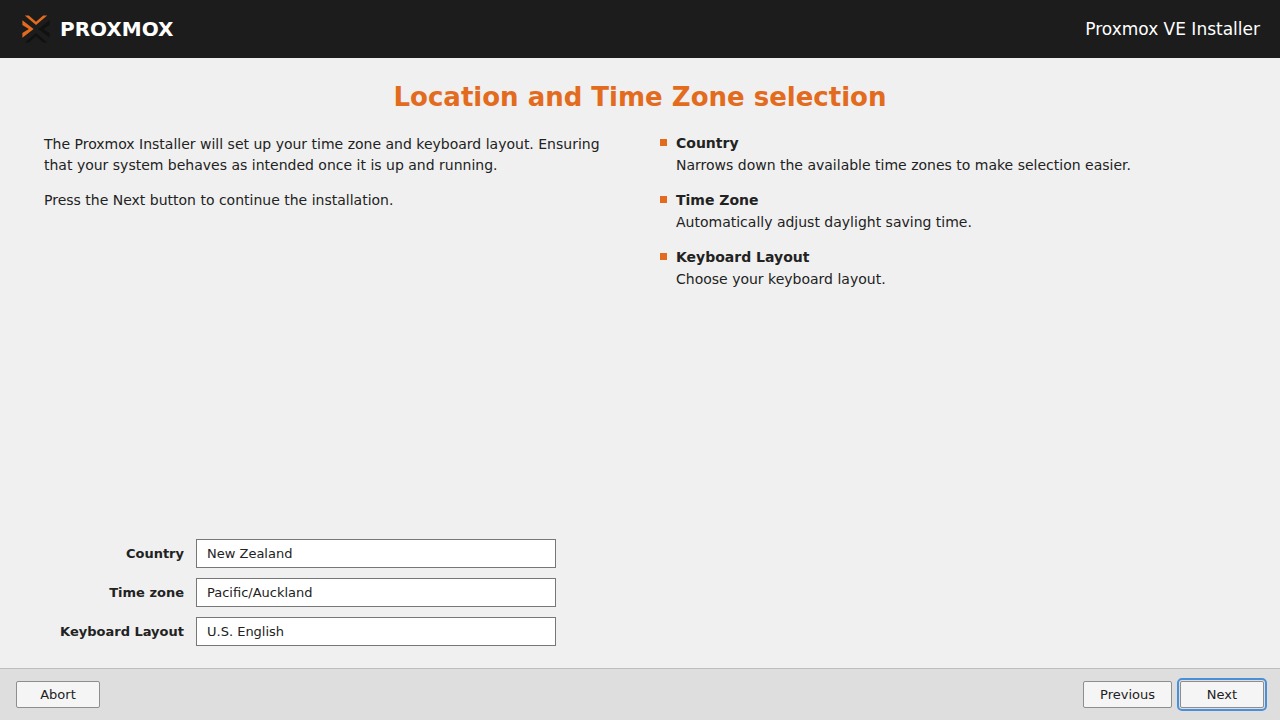
4. Location
5. Password and email
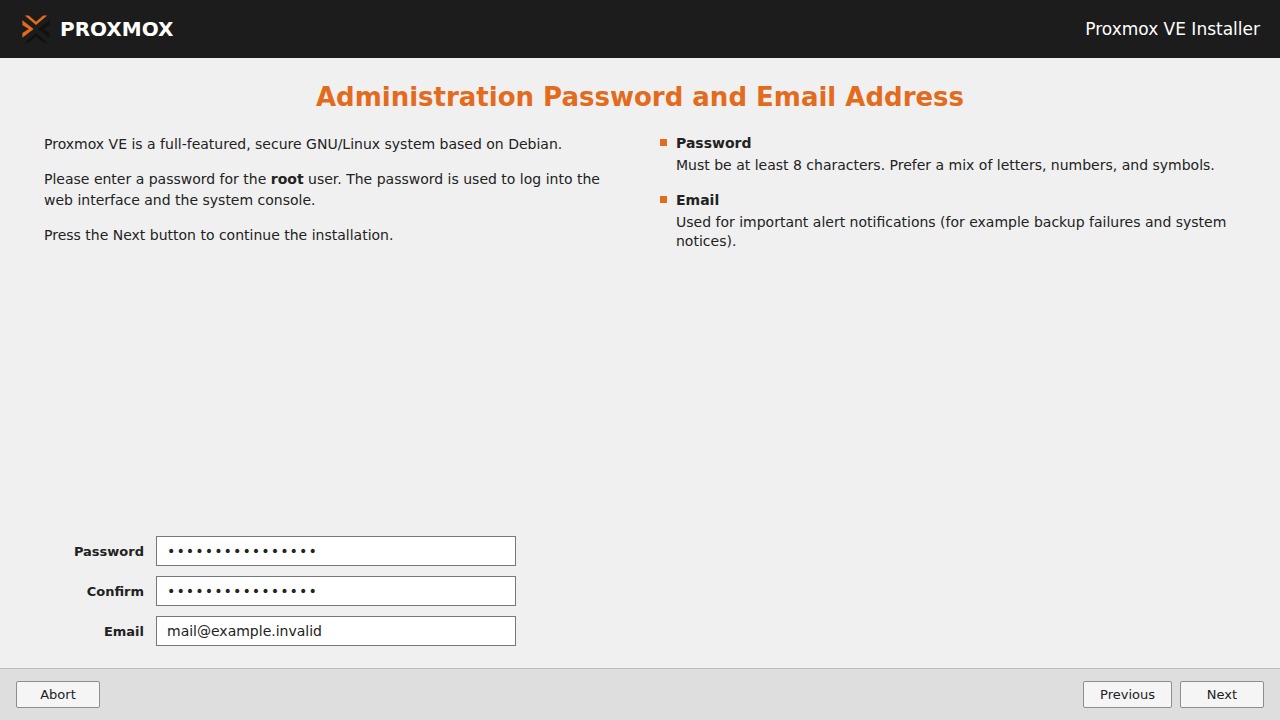
The password is for root (console and web UI). Use 12+ characters. The email
receives system alerts, so replace the placeholder with an address you read.
6. Management network
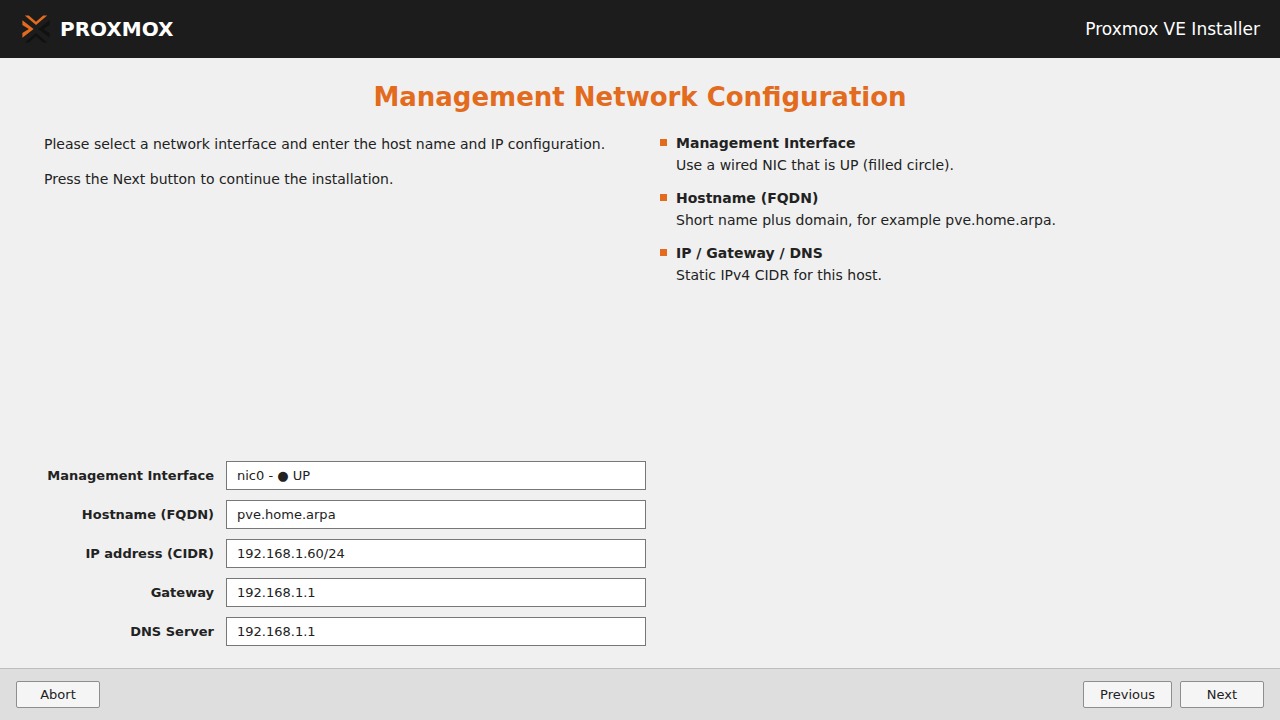
| Field | Example |
|---|---|
| Interface | Wired NIC marked UP (filled circle) |
| Hostname (FQDN) | pve.home.arpa |
| IP (CIDR) | 192.168.1.60/24 |
| Gateway / DNS | 192.168.1.1 |
Use your own values. The hostname is awkward to change later. One IP family only (IPv4 or IPv6) here.
7. Summary
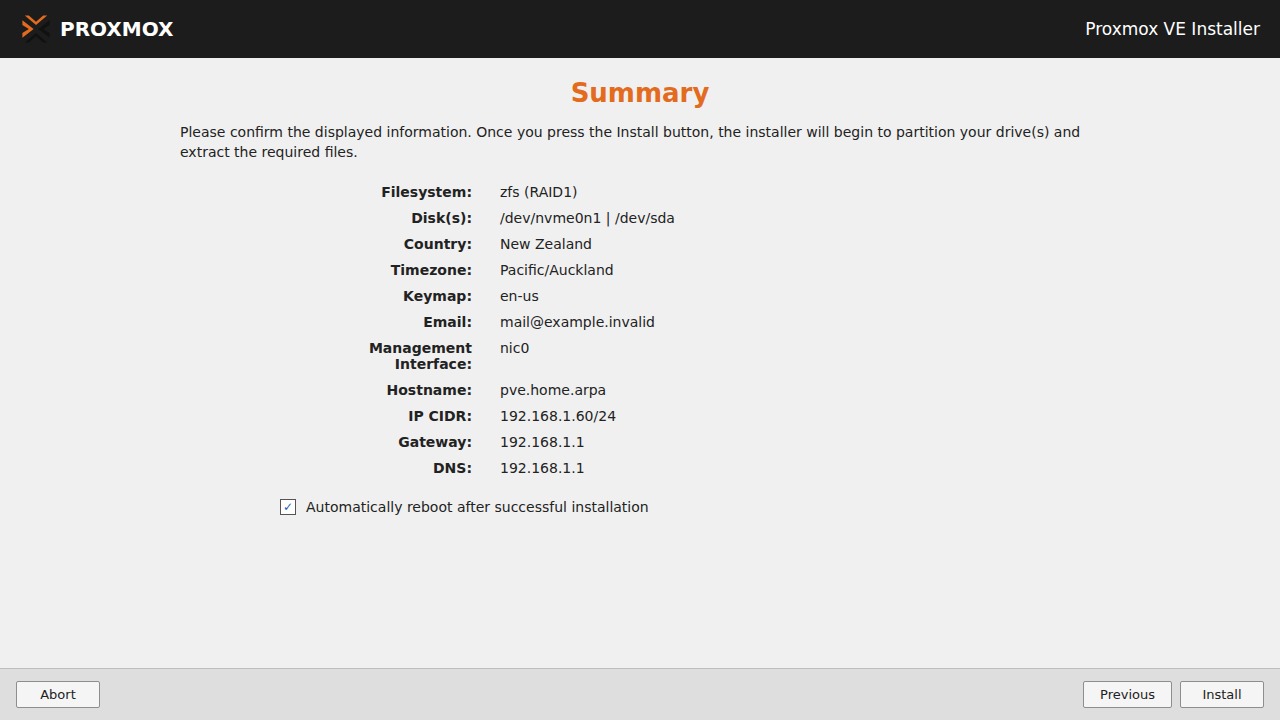
Check every line, keep Automatically reboot ticked, then Install. Remove the USB when the machine restarts.
If the install fails, press Ctrl+Alt+F2 for logs.